Christmas is almost here!! If the holiday season has been for you anything like it’s been for me there is a great relief in knowing there are only three more days until its all over! Don’t get me wrong I love the holidays, my family has so many great traditions I always look forward to. But this year has been a busy one for me, so what better remedy then a decadent chocolate cupcake as a midday snack? (or a late night snack, or breakfast with a cup of coffee or a second one right after lunch because treat yourself, amiright?)
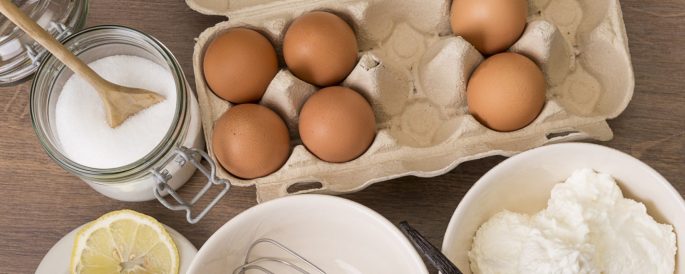
Here’s what you’ll need for this bake:
For the Chocolate Cake:
1.5 cups all-purpose flour
1.5 cups granulated sugar
3/4 cups cocoa powder
1/2 tablespoon baking soda
3/4 teaspoons baking powder
3/4 teaspoons salt
2 large eggs
3/4 cups buttermilk
3/4 cups warm water (I just heated mine in the microwave)
1/4 cup vegetable oil
For the buttercream frosting:
4 cups of powdered sugar
1 Cup of room temp. butter
2-3 teaspoons of vanilla
1-2 tablespoons of milk
For the topping:
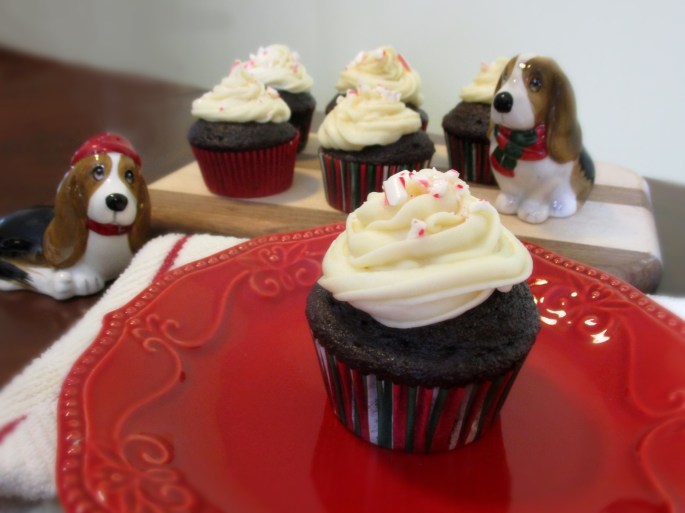
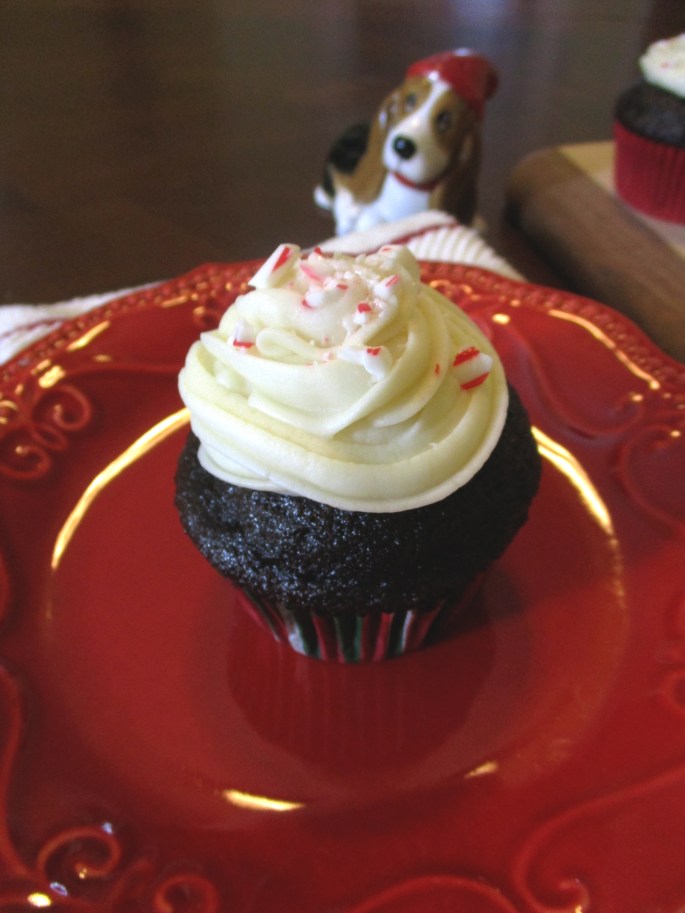
4 candy canes
Directions:
Chocolate Cake:
Preheat your oven to 325. Beat together all the dry ingredients on a low speed in a stand mixer first to make sure everything is evenly mixed. Then add wet ingredients gradually, making sure to scrape the sides of your bowl and whisk often (if you don’t have a stand mixer that’s fine it will just require a bit of muscle). The consistency will be a bit runnier then a standard cake batter because the cake comes out quite moist. Fill cupcake cups just over half way. I noticed that with this recipe the batter rose quite a lot, so keep that in mind when filling your cupcake cups. Bake these babies for 15-20 minutes or until a toothpick stuck in the center comes out clean. Always make sure your cupcakes are completely cooled before frosting. You can transfer them to a wire rack after about 10-15 minutes of cooling in the pan.
Buttercream:
Although I gave exact measurements for the buttercream what I often end up doing when I make it is to simply eyeball the ingredients until I have the consistency where I like it. Because I used a piping bag to decorate I wanted my buttercream to be firmer and hold its shape. I added the dry ingredients first and added the milk gradually. I also increased the speed so that I could make sure there were no clumps of powdered sugar.
To Decorate:
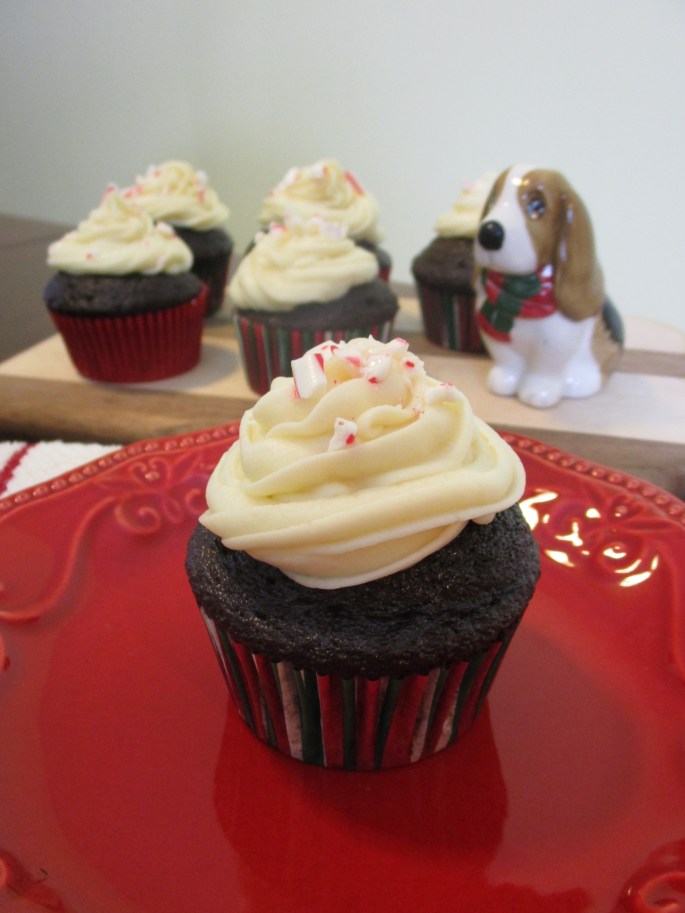
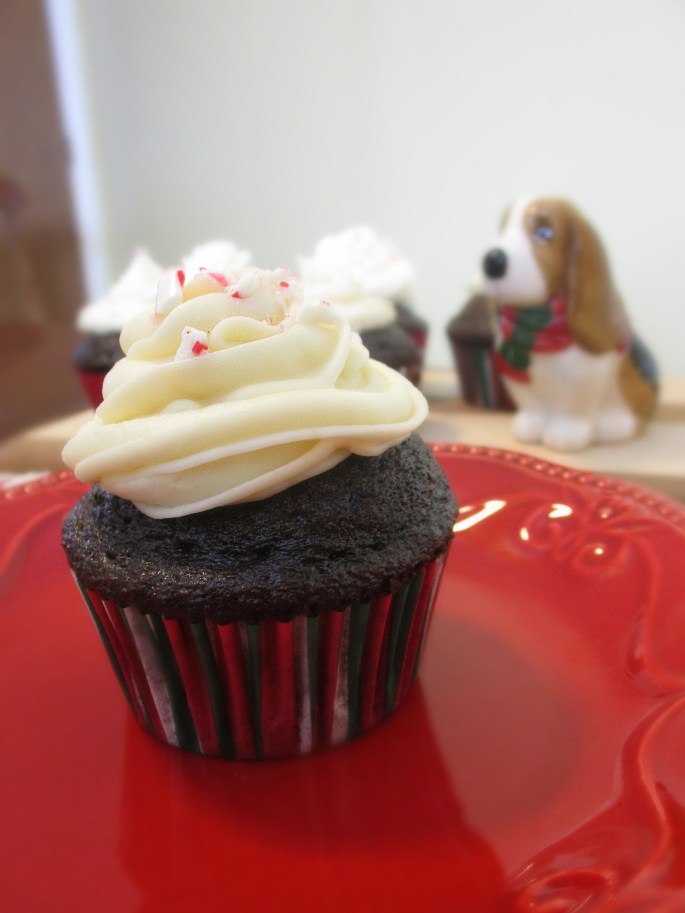
Frost your cupcakes using a piping tip as I did or a spatula. Then break up your candy canes in a plastic baggie using the back of a spoon (or just throw it against the wall a bunch of times like I did, a great way to destress from holiday madness!). Then sprinkle on the candy can piece, and there you are ! a beautiful holiday treat!
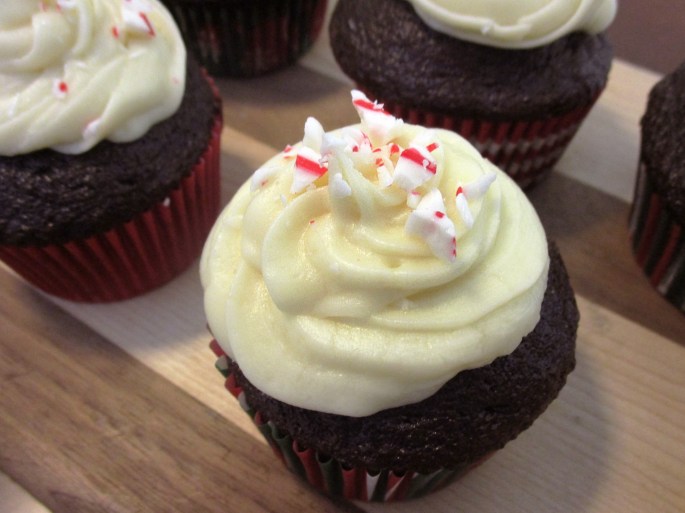
The chocolate cake is decedent and moist and with just a sprinkle of candy cane crumbles the peppermint taste is subtle enough to get you into the holiday spirit.
Enjoy this recipe, and if you give it a try be sure to hashtag #TheInexperiencedBaker, so I can see your masterpiece!